Exploring the RG35XX H
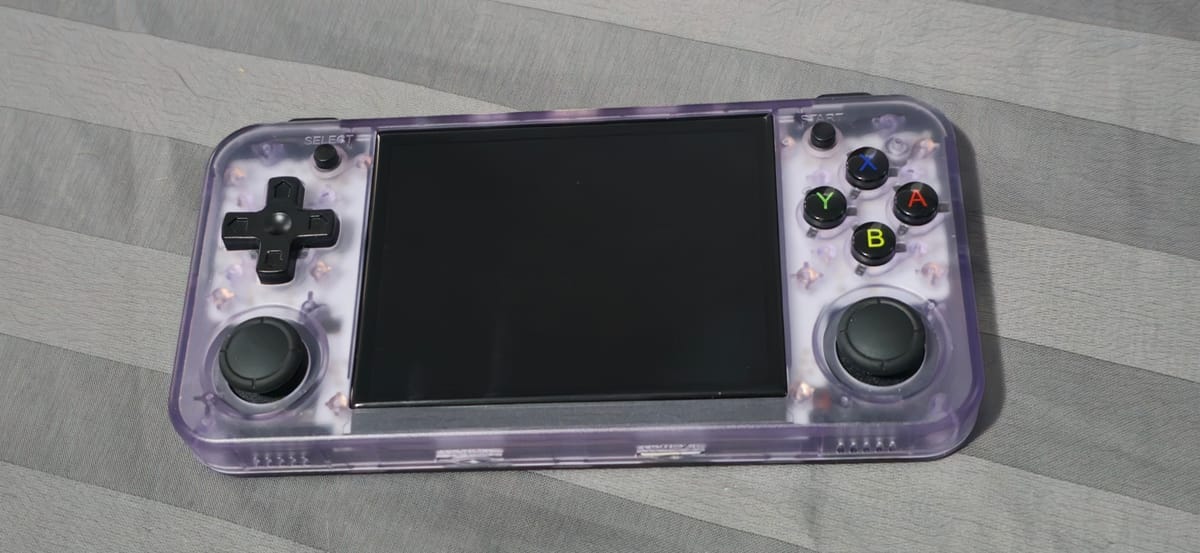
I recently stumbled upon a neat little piece of hardware. The ANBERNIC RG35XX H is a portable "retro console" that can emulate a good amount of consoles and handhelds via RetroArch and a few standalone emulators. The stock firmware is decent enough, but does leave a little to be desired. This will likely be one post in a very long series of posts detailing my attempts to improve the stock firmware.
Gaining root
(It's not hard)
Okay, so of course the first thing we are going to want to do is get some sort of shell, ideally with root access so we can really see what makes this thing tick. Before we dive right in though, let's take a look at what we have available to us on the device.
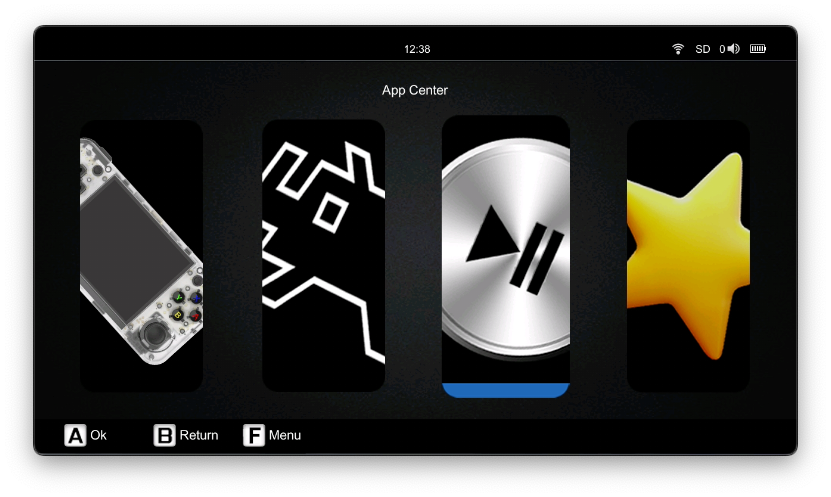
Flipping through the menu you'll land on the "App Center" which will display a number of apps, one of them being "APPS". This will have you select a microSD slot (TF slot) and then display a list of "apps" (shell scripts really) which exist on the partition for ROMs, inside the Roms/APPS directory. You can see examples already included in the factory image.

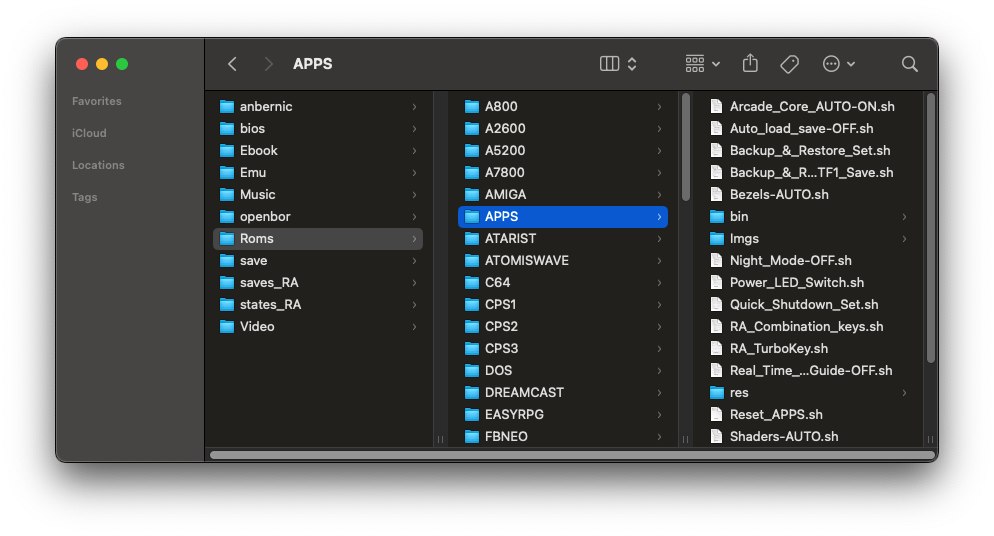
"App Center" "apps" map to shell scripts on the ROMs partition.
So right away this looks like where we want to be. Through experimentation we will find that, yes, we can just dump a script in there and it'll show up in the menu. The image displayed in the menu comes from a matching file in the Imgs directory. Some notes from my experimentation:
- We are running in a graphical environment, the "app" scripts are executed by the shell (the menu) and stdout is going somewhere else.
- Not ideal, but it means to debug we'll be logging to files, then reading those files, then adjusting the script. Over and over.
- We are running Ubuntu.
- This is also pretty nice. We know Ubuntu has massive support, so this gives me hope that we can make this device even more great.
- We are
root, so we can just do whatever.- I mean, that's pretty nice. We really don't need to do anything.
Okay, well, that was easy. We have root because they give us root, which will just make our lives a thousand times easier.
Enabling SSH
What more could you want?
Coolio, now let's make it a little easier to work with. The development process of getting scripts running is not great. At this point we need to pop out the microSD, edit a script, pop the microSD back in, run the script and hope it work, rinse and repeat until it works. So let's enable SSH to save ourselves some steps. It does not come enabled by default, but again we're running Ubuntu so this should be fairly trivial.
So if you know a bit about general SSH configuration then you know we're going to need a sshd_config. The stock image does actually already include one, the SSH service is just not enabled, so we'll copy that and modify it from there for our needs.
We'll enable public key auth, and copy some authorized_keys files into the proper users home directories with proper permissions, and our sshd_config will pick up the keys.
Interestingly the stock image has images for SSH on and SSH off, so I'm going to go ahead and copy those as well and reuse them for this script.
Putting it all together I end up with a nice little script to enable and disable the SSH service with normal public key auth. So to use this:
- Place the files in the
Roms/APPSdirectory - Add your public key to
ssh/users/root/authorized_keys - Boot up the device and go to "APPS" in the "App Center"
- You should see a new item
ssh-enable - Run
ssh-enableto enable the SSH service- This will also update the app name to
ssh-disableto disable the SSH service
- This will also update the app name to
ssh root@rg35xx-ipshould be good to go!
And there we go!
The End(?)
Of course not
This post was written awhile after the fact, but going forwards I plan to write as I do things to make the posts a bit more stream-of-consciousness while diagnosing issues or implementing features. I'm not sure what my end goal is going to be, but I want to get as much performance out of this thing as I can. A device like this is something I would have dreamed about as a kid. I'd like to do whatever I can to make it even better.
I can say next on the list is some light reverse engineering. We're going to have to if we really want to make things better. I've poked around a little at this point, so I think the next post is going to be about building a custom backlight control.
Until next time!